


Ribbon and pearl necklaces are everywhere right now, at a whole variety of prices. Leila saw one at Target and even though it was only $8.99 I told her I could probably make her one with things I already had at home. I was right.
This necklace is super simple to make, and I will do my best to explain it.
What you need:
ribbon (about two feet)
matching embroidery thread
thick, embroidery needle
handful of pearl beads (or the real thing!)
scissors

First, cut your ribbon and embroidery thread. About two feet on the ribbon, about a foot and a hallf on the embroidery thread.

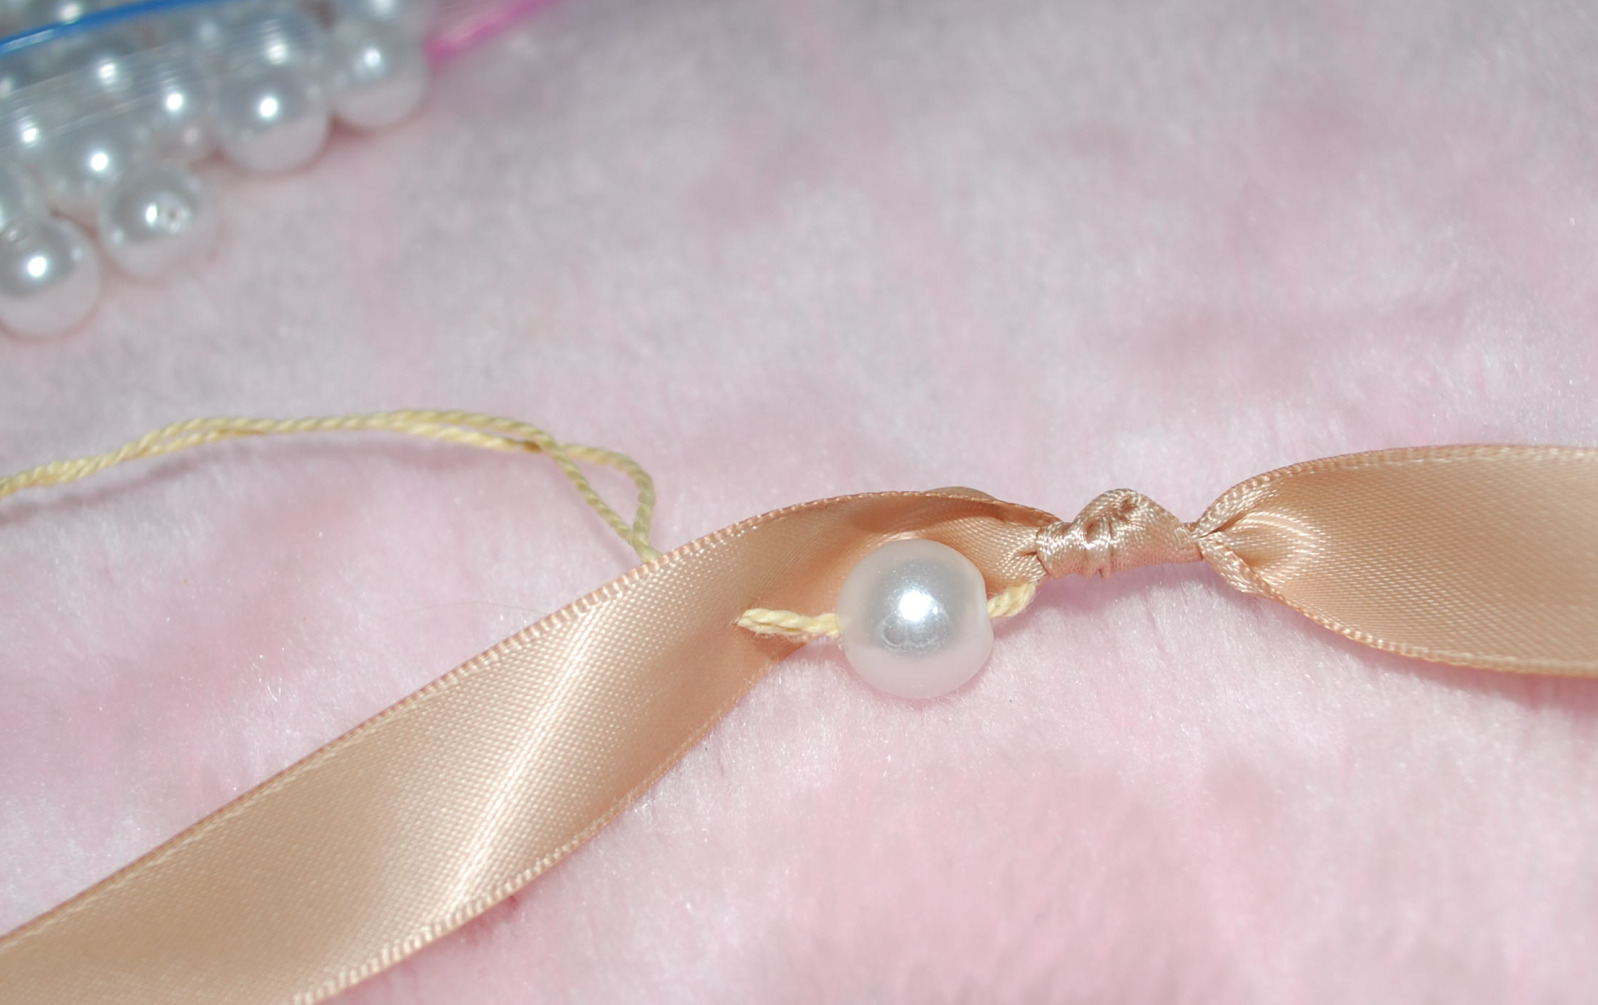
Then, make a knot in your ribbon, about six inches down.

Start stringing your embroidery thread right through the knot, and then make another knot right on top of the existing one so you don't see the thread.

String a pearl.
{This is what the back will look like - don't worry, you won't see it}
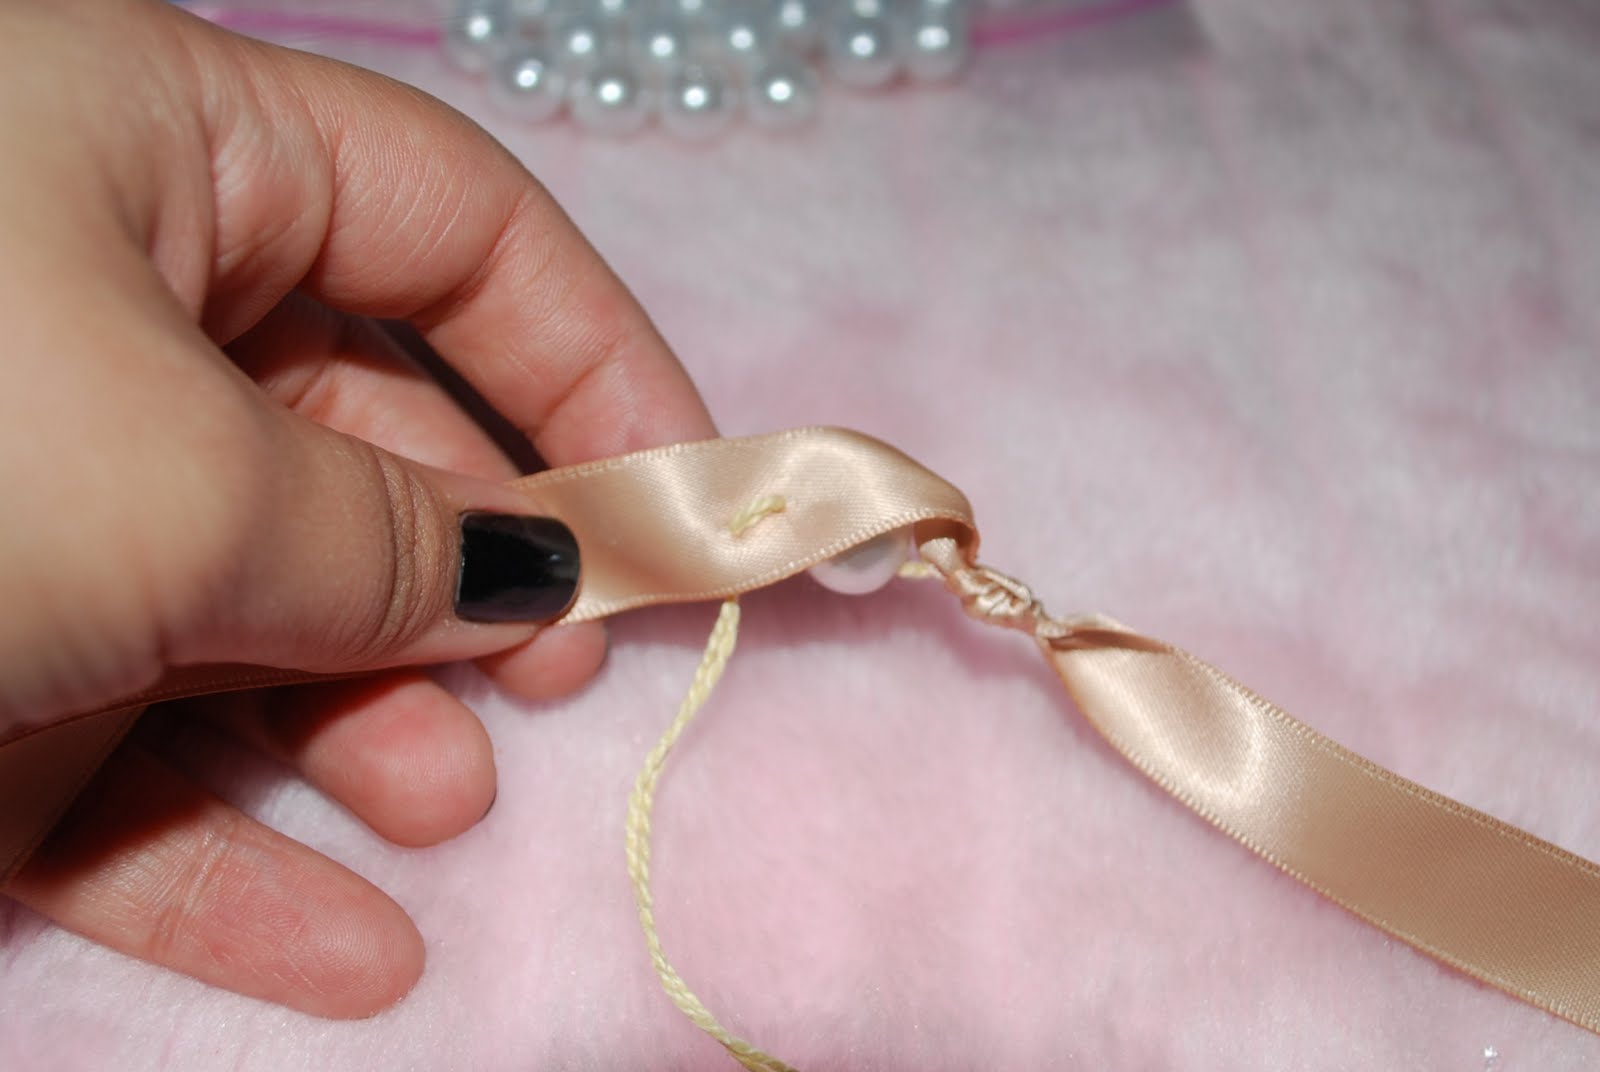
Leave some space {I found out a handful of pearls down that if you leave a space as big as the pearl it works best} and then string another pearl. Poke your needle through the back and come back up.

After every two or three pearls pull your embroidery string really tight. This will magically gather the ribbon that you left spaces in between the pearls for.

Keep going until you've reached your desired length, remembering to pull the embroidery thread after every two or three pearls. If you string any more pearls than that without pulling the thread it can get a little tough.

Once you like the length make another knot.

String your embroidery string through it, tie and cut it off.


Make another knot on top if it all to hide it.

Then {sorry no pics for this step} cut your extra ribbon at an angle, and heat seal it by holding an open flame right over it.
{Edited to add: nail polish is "Unripened" by OPI, part of the Go Goth Collection}
Last step - get your own, little Zoolander to show off their new necklaces!

Happy crafting!! If you make one, please let me know! :)


12 comments:
LOVE it!
LOVE THIS! Making tons of them! Hello homemade christmas gifts from the baby! :)
GREAT TUTE! and LOOOOOOvin that HOTT polish!! XO
LOVE this tutorial!
LOVE your cute daughter!
LOVE the nail polish!
Awesome tutorial. Where did your cutie pie's shirt come from. I love it.
So cute, thanks for sharing!! Leila is too much w/ her sassy posing! :)
My friend Casey made a similar one for herself, but hers has a more vintage, Anthro-feeling which I'm digging. She re-purposed an old necklace, too. So fun! Will have to try this soon.
http://caseycrocker.blogspot.com/2010/09/crafty-mccrafterton-re-purposed.html
dying!!!
can't wait to make a few (hundred)!
thank you for sharing heather!
her outfit is UH-mazing.
ok, i tried. i tried and i failed. please just do us non-crafters a favor and add some to your shop to sell!
Super cute! Way to go! And, I love Leila's shirt...where did you get it?
will make this for my daughter!
Freshwater Pearls
Post a Comment